
Serum vs Plasma: Do You Know The Difference?
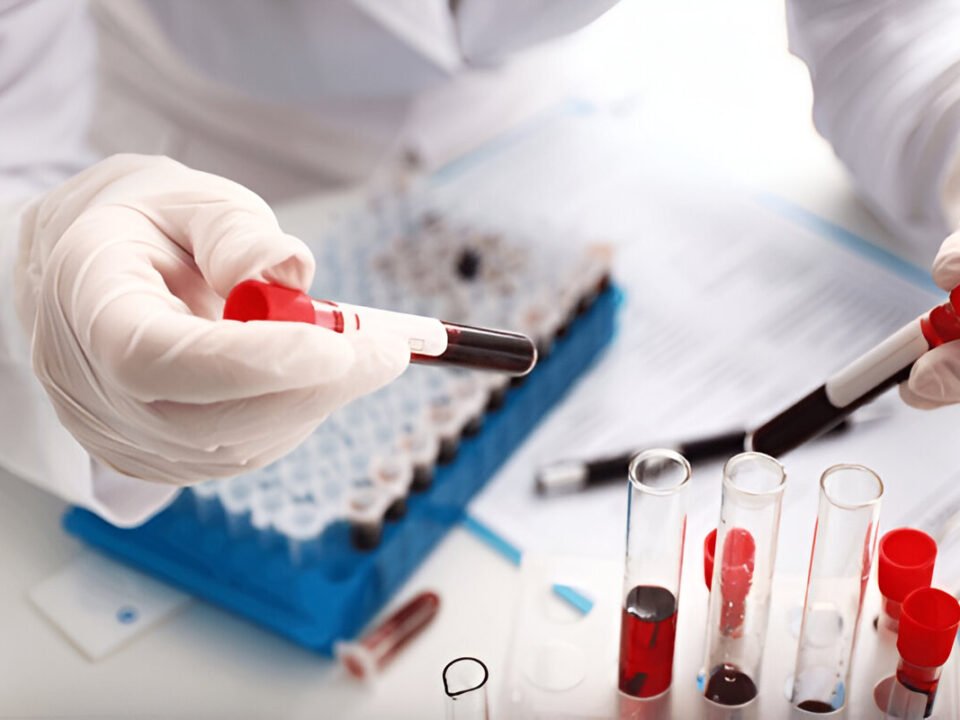
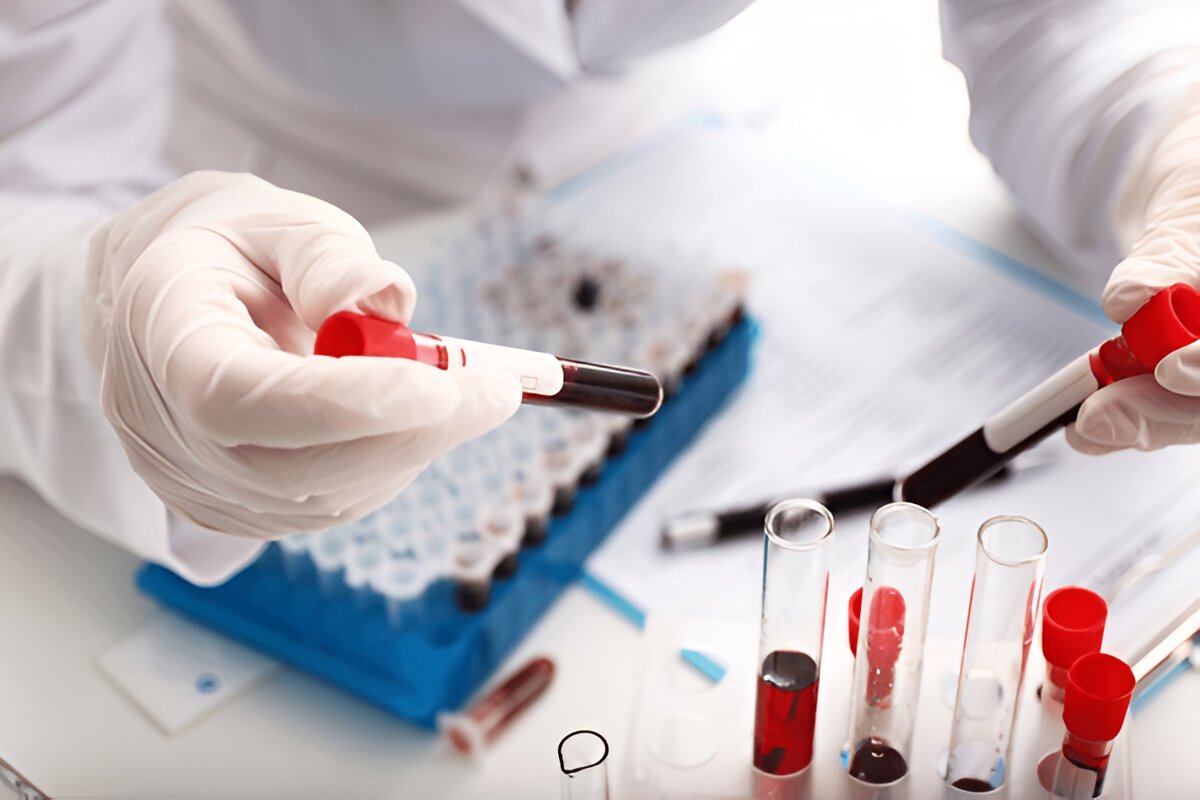
March 9, 2024Imagine you are conducted a series of diagnostic tests in your pathology laboratory. You followed every protocol diligently, but the results seem inconsistent, and your patient’s health is at stake. What could have gone wrong?
One often overlooked but critical factor in diagnostic testing is the cleanliness of your glass pipettes. These seemingly insignificant tools can be the source of contamination that leads to erroneous results, affecting patient care and the reputation of your laboratory.
Pathology lab technicians and doctors can relate to the frustration of spending hours on tests, only to realize that the glass pipettes used might have been contaminated. It’s not just about the time wasted; it’s about the potential harm caused to patients due to incorrect diagnoses. Contamination of glass pipettes, both externally and internally, is a common issue in pathology labs. It can happen due to various reasons, such as improper handling, storage, or cleaning procedures. The question is, how can we tackle this problem effectively?
After years of grappling with this issue, we have discovered a solution that promises to be a game-changer for pathology lab technicians and doctors. We discovered a systematic approach for cleaning of glass pipettes, both inside and out, which is essential to maintain the integrity of diagnostic tests.
Here’s the solution
Step 1: Cleaning external surface
- Begin by rinsing the glass pipette with warm water to remove any visible contaminants.
- Apply a mild laboratory detergent onto a brush or sponge.
- Gently scrub the external surface of the pipette to remove any stubborn residue.
")
Step 2: Internal Cleaning
- Internal cleaning involves flushing the pipette with a laboratory-grade detergent solution.
- Take a squeeze bottle filled with detergent
- Attach a squeeze bottle to the pipette’s upper end.
- Draw the detergent solution into the pipette, then expel it through the tip several times to remove any residual liquids or particles inside.
- Rinse the pipette with distilled water in the same manner to ensure no detergent remains.
- For stubborn residue, use a soft brush to gently scrub the interior walls of the pipette, taking care not to damage it.
- Rinse the pipette once more with distilled water.
")
Step 3: Internal and Dry Flushing
- To ensure complete cleaning, perform an internal flushing with 70% ethanol, followed by dry flushing using clean, dry air or nitrogen.
- Take a squeeze bottle filled with 70% ethanol.
- Attach a squeeze bottle, draw the ethanol into the pipette, and expel it through the tip.
- Repeat this process several times until no ethanol residue remains.
- Finally, perform a dry flush to remove any remaining liquid and ensure the pipette is completely dry before use.
")
Step 4: Sterilization
To complete the cleaning process, sterilize the pipette components by autoclaving or using a suitable sterilization method recommended by your laboratory or institution.
")
Step 5: Validation test
Once the components are clean and sterilized, perform validation test to ensure its dispensing accurately.
")
To make the cleaning process even more convenient and efficient for pathology lab technicians and doctors, use TAC (Triple Action Cleaner) solution formulated by Anamol Laboratories Pvt. Ltd. TAC solution effectively wash and clean glass pipettes, both inside and out. The solution you need for consistently accurate diagnostic results.
Conclusion, Maintaining the accuracy of your glass pipettes is crucial for medical professionals working in pathology labs and diagnostics. By following the steps outlined in this guide and considering professional cleaning solutions, you can ensure your pipettes remain in excellent condition, providing you with the precision you need for accurate diagnoses and patient care. Don’t let pipette cleaning frustrations stand in your way – master the art of pipette maintenance and elevate the quality of your work in the medical field.
